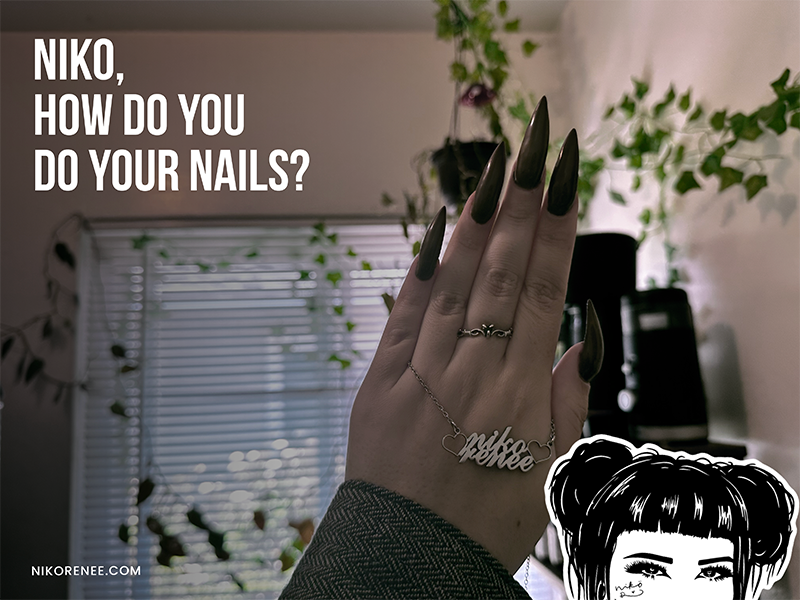
Hi, I'm niko and like many other creatives with a variety of outlets, doing my own nails is one of 'em! Though admittedly plain, often a solid color, the whole experience of shaping and painting my nails gives me a sense of creation, increases my self-confidence, and saves me a ton of money!
I've been doing my own acrylic nails for about 10+ years and I'd love to share my go-to starter items with you!
PLUS, below is a very basic and straightforward introduction to the process of acrylic nails at home!
Please be mindful that I am not a licensed professional (as of july, 2026 anyway lol).
1. Nail Prep
Wash hands and nails, then clean off nail surface by buffing with a medium drill bit or a 100/180 grit emery board.
2. Glue on nail Tips
Make sure they're sized edge to edge to avoid lifting. This is now the time to trim to desired length. I use Stiletto Almond shape to make things easier during shaping, but there are a variety of options to choose from!
3. Buff nail surface for adhesion
Only if additional buffing is needed / didn't do it during #1 thoroughly enough. Don't overdo the buffing & destroy your nail! Slight texture is all that is needed (:
4. Dehydrator
To cleanse and remove oils, kinda like rubbing alcohol! Stick to clear base bottles so you can spot contamination quickly - if liquid looks cloudy, it's going to do a poor job.
5. Primer
Helps with adhesion! The Mia Secret duo is what I tend to use most.
6. Monomer + Dish +Acrylic Powder + Brush + Paper Towels
This is the moment of truth! You'll need some sort of glass dish, brushes, and paper towels during this! They have dual packs of monomer and acrylic powder, but you can also buy them separately. Youtube videos + trial & error are your best friend here! Acrylic dries fairly quickly, and dries hard, so work intentionally and quickly to achieve your desired shape! Watch videos on where to place an apex to avoid breakage, how to place acrylic beads and the various methods you can follow, which brushes to use, how much monomer should be on your brush, how much acrylic powder should be on your brush, etc, etc. Every little bit of trial and error here will help a ton!
7. Shaping
Shape edges to achieve desired shape with emery board. Drill top for smooth finish. Finding a drill that works well for you is a bit of trial and error (my favorite got discontinued), but I suggest a medium-priced option for a beginner. A super cheap option will leave you FRUSTRATED AF during this step (ask me how I know lol. they will burn out on you mid-session). Again, Youtube videos & trial and error are your BFF for this! Also, I watched a lot of nail sessions in-person growing up while tagging along with my mom for her nail appointments! Visuals help!
8. Wash hands
A small brush scrubber really helps with this step to remove excess dust and crust from crevices, cuticles, and undersides of nails.
9. Painting
If you're doing gel, you'll need a base coat (then cure with nail lamp 30-60 seconds), 1-2 coats of polish (cure between coats), and a top coat (gloss or matte options available). Be sure to not get any of the polish on skin, as it can cause rash or pain when cured.
10. done!
You got yourself a fresh set of nails that only get better with time and effort (like all things in life). YAY!
Questions?
DM me @niko_renee or email me nikorenee@gmail.com!